Perfect Homemade Sourdough Bread Bowls- Same Day
For when you had a “great idea” just a little too late for true sourdough.
Introduction
I woke up one morning with a brilliant plan — or so I thought. Soup sounded perfect for dinner, and in my head, it only made sense to serve it in fresh, homemade sourdough bread bowls. You know, the kind that make even a simple creamy soup look straight out of a cozy café on Pinterest.
I ran straight to my kitchen, grabbed my active sourdough starter, and started looking up recipes. That’s when it hit me: every single one required overnight fermentation. My enthusiasm deflated faster than my un-fed starter sitting in the fridge.
It was one of those days where I had the idea, the energy, and the craving — just not the time. And I couldn’t find a single recipe that made homemade sourdough bread bowls using discard for same-day baking.
So… I made one.
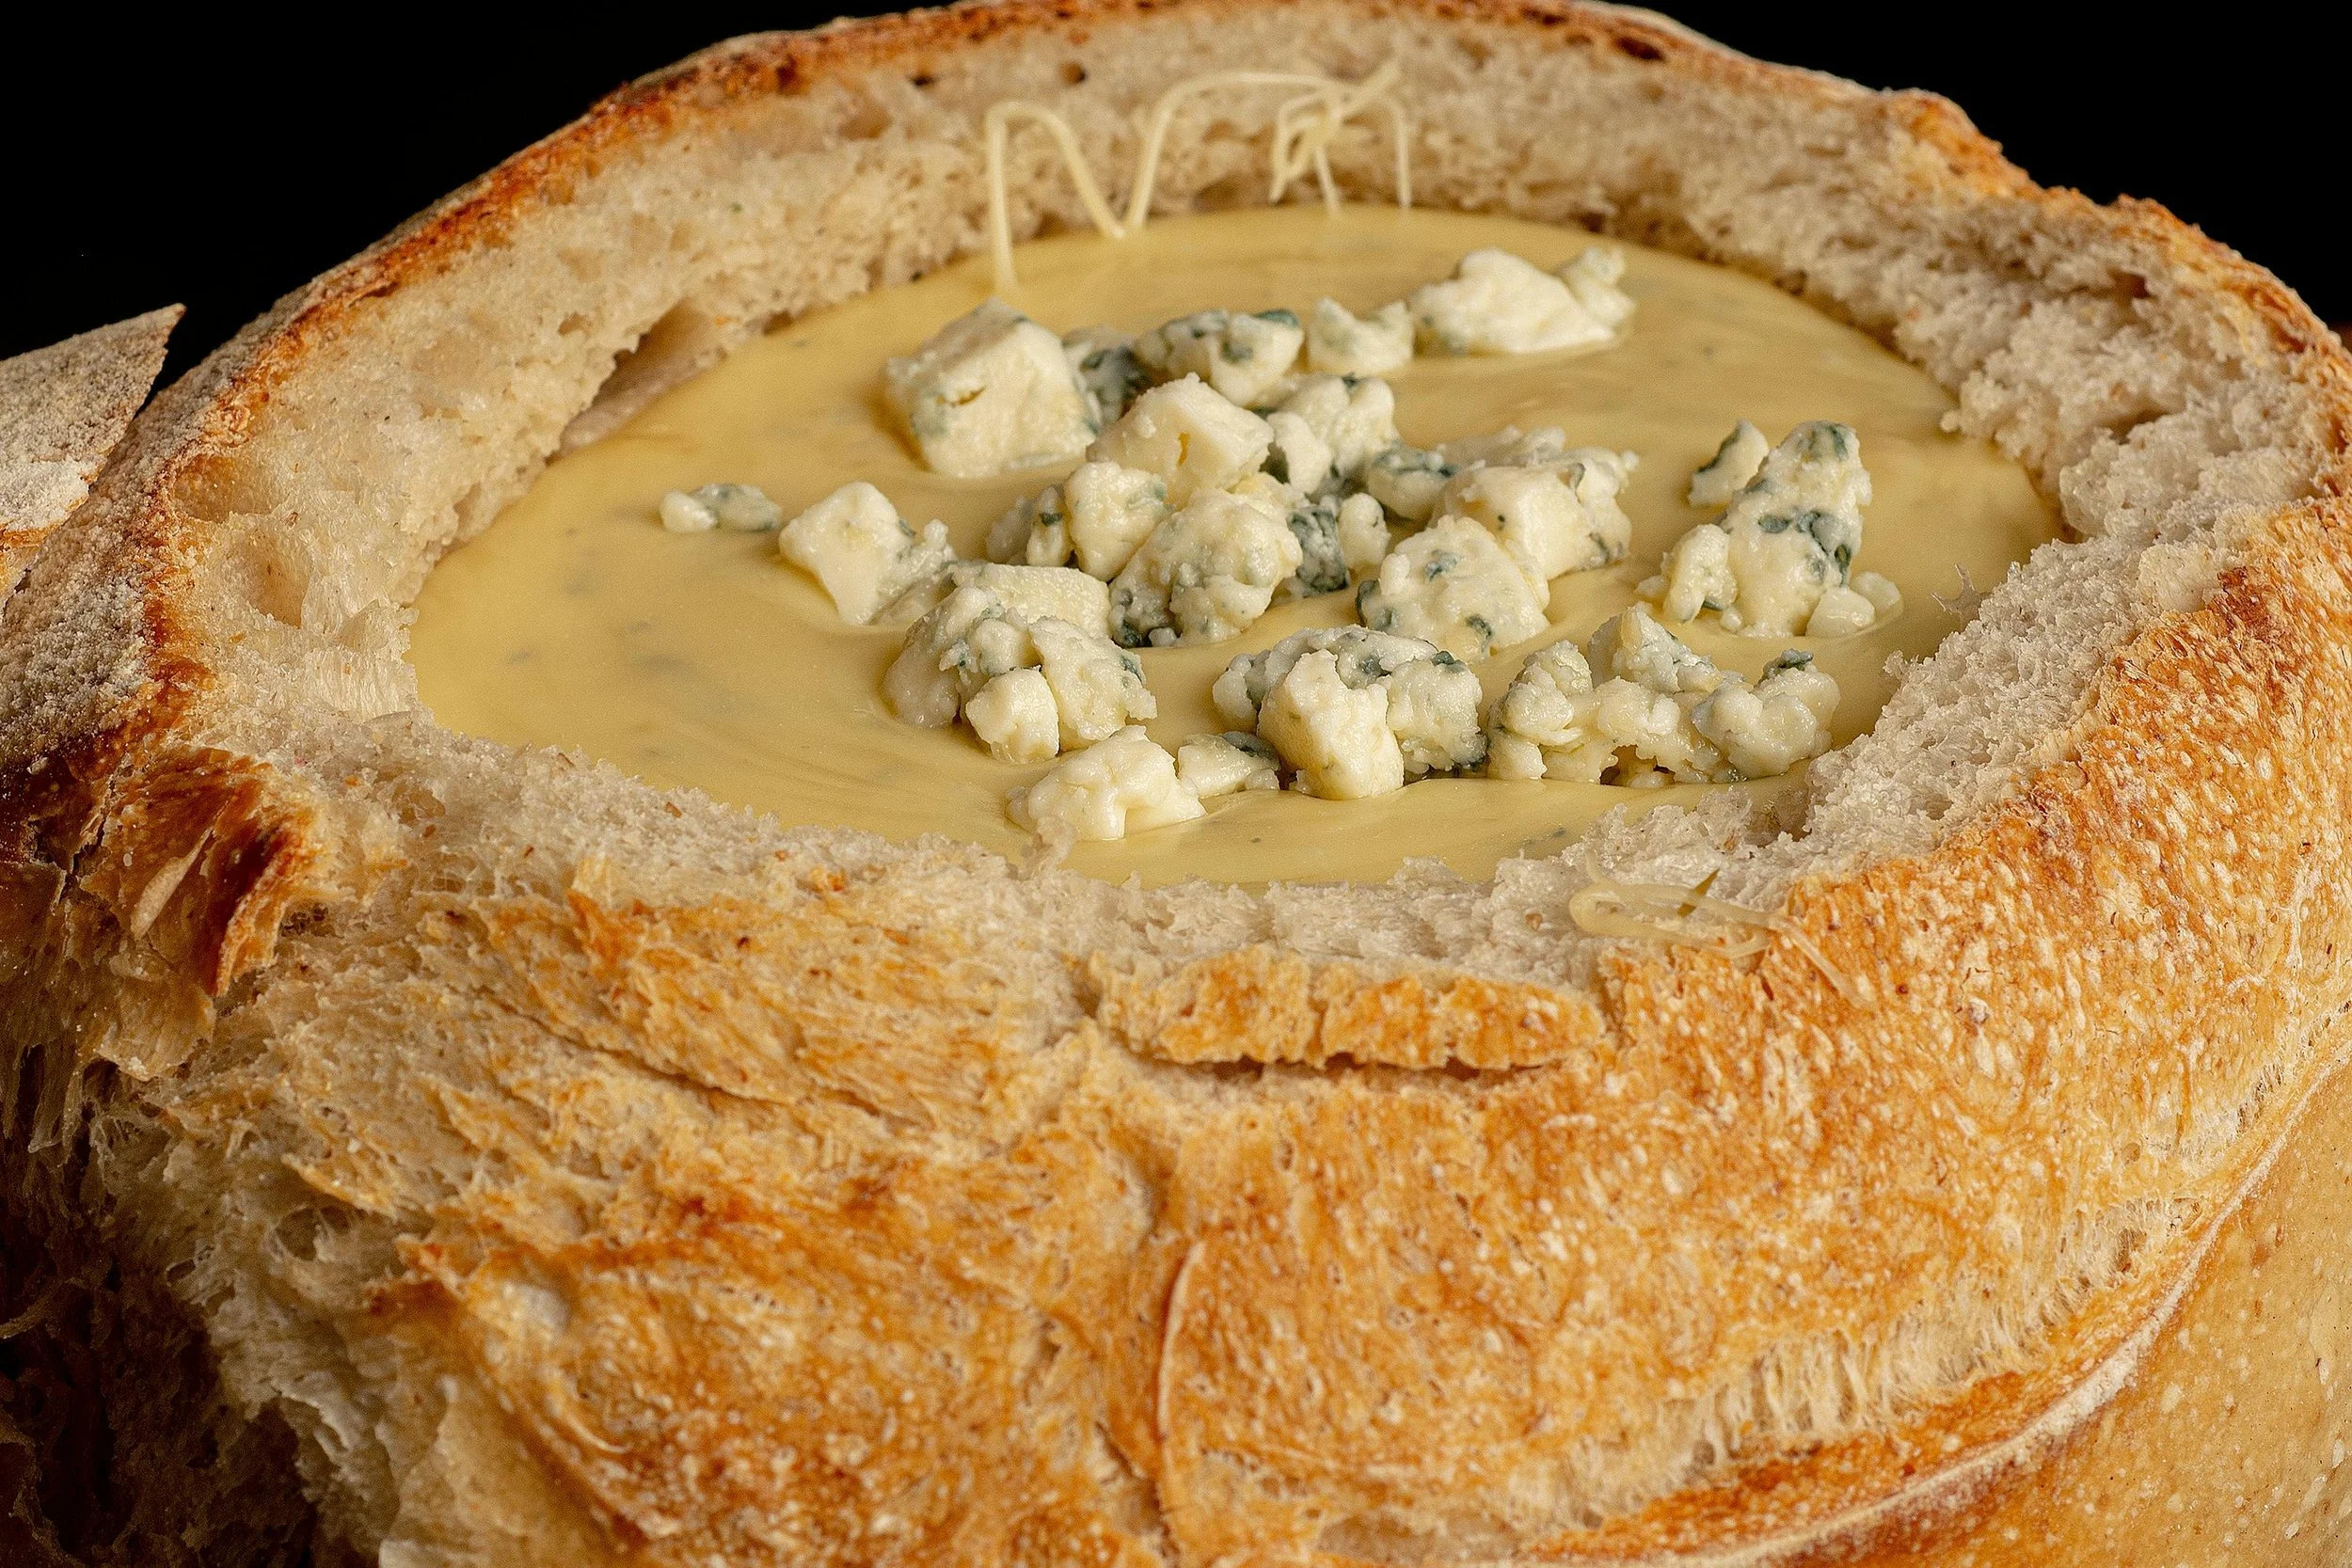
This sourdough discard bread bowl recipe brings the classic sourdough tang with the practicality of commercial yeast — ready start to finish in just about three hours. No overnight waiting, no disappointment at dinnertime, just warm, golden brown bread bowls that are perfect for any of your favorite soups.
Why This Recipe Works
This recipe combines the flavor of sourdough with the speed of instant yeast. The discard adds a subtle tang, natural yeast complexity, and a deeper crust color, while the commercial yeast gives you the lift you need for a beautiful oven spring.
The best part? You can mix, shape, rise, and bake all in the same afternoon — even if you had the idea just hours before dinner.
Tip: Rise times will vary depending on the temperature of your kitchen. A warm spot (around 75–78°F) helps the dough rise faster and gives you the best results.
Ingredients
Makes 4–6 medium bread bowls
IngredientUS MeasurementMetricActive sourdough discard (room temperature)1 cup240gWarm water (around 100°F)1 ½ cups360gInstant yeast2 ¼ tsp (1 packet)7gSugar or honey1 tbsp15gOlive oil or melted butter1 tbsp15gBread flour4–5 cups480–600gSalt1 ½ tsp9gOptional: Garlic powder or Italian herbs1 tsp3g
Tools You’ll Need
Large mixing bowl
Danish dough whisk or wooden spoon
Bench scraper or dough scraper
Kitchen scale (for accuracy)
Plastic wrap or tea towels for covering
Parchment paper
Baking sheet, pizza stone, or baking steel
Wire rack for cooling
Optional: Stand mixer with dough hook attachment
As an Amazon Associate, I earn from qualifying purchases. These are the tools I actually use and love in my own kitchen!
Step-by-Step Instructions
1. Activate the yeast
Start with a large mixing bowl and pour in your warm water (about 100°F). Sprinkle in the sugar or honey and instant yeast, then stir gently. Let this mixture sit for 5–10 minutes until a thin layer of foam forms on the surface — this tells you your yeast is alive and ready to lift your dough.
If nothing happens after 10 minutes, your yeast might be expired or the water too hot. Lukewarm water works best; anything hotter can kill the yeast.
💡 Tip: If you’re using a stand mixer, you can complete this entire step right in the mixer bowl.
2. Mix in the discard
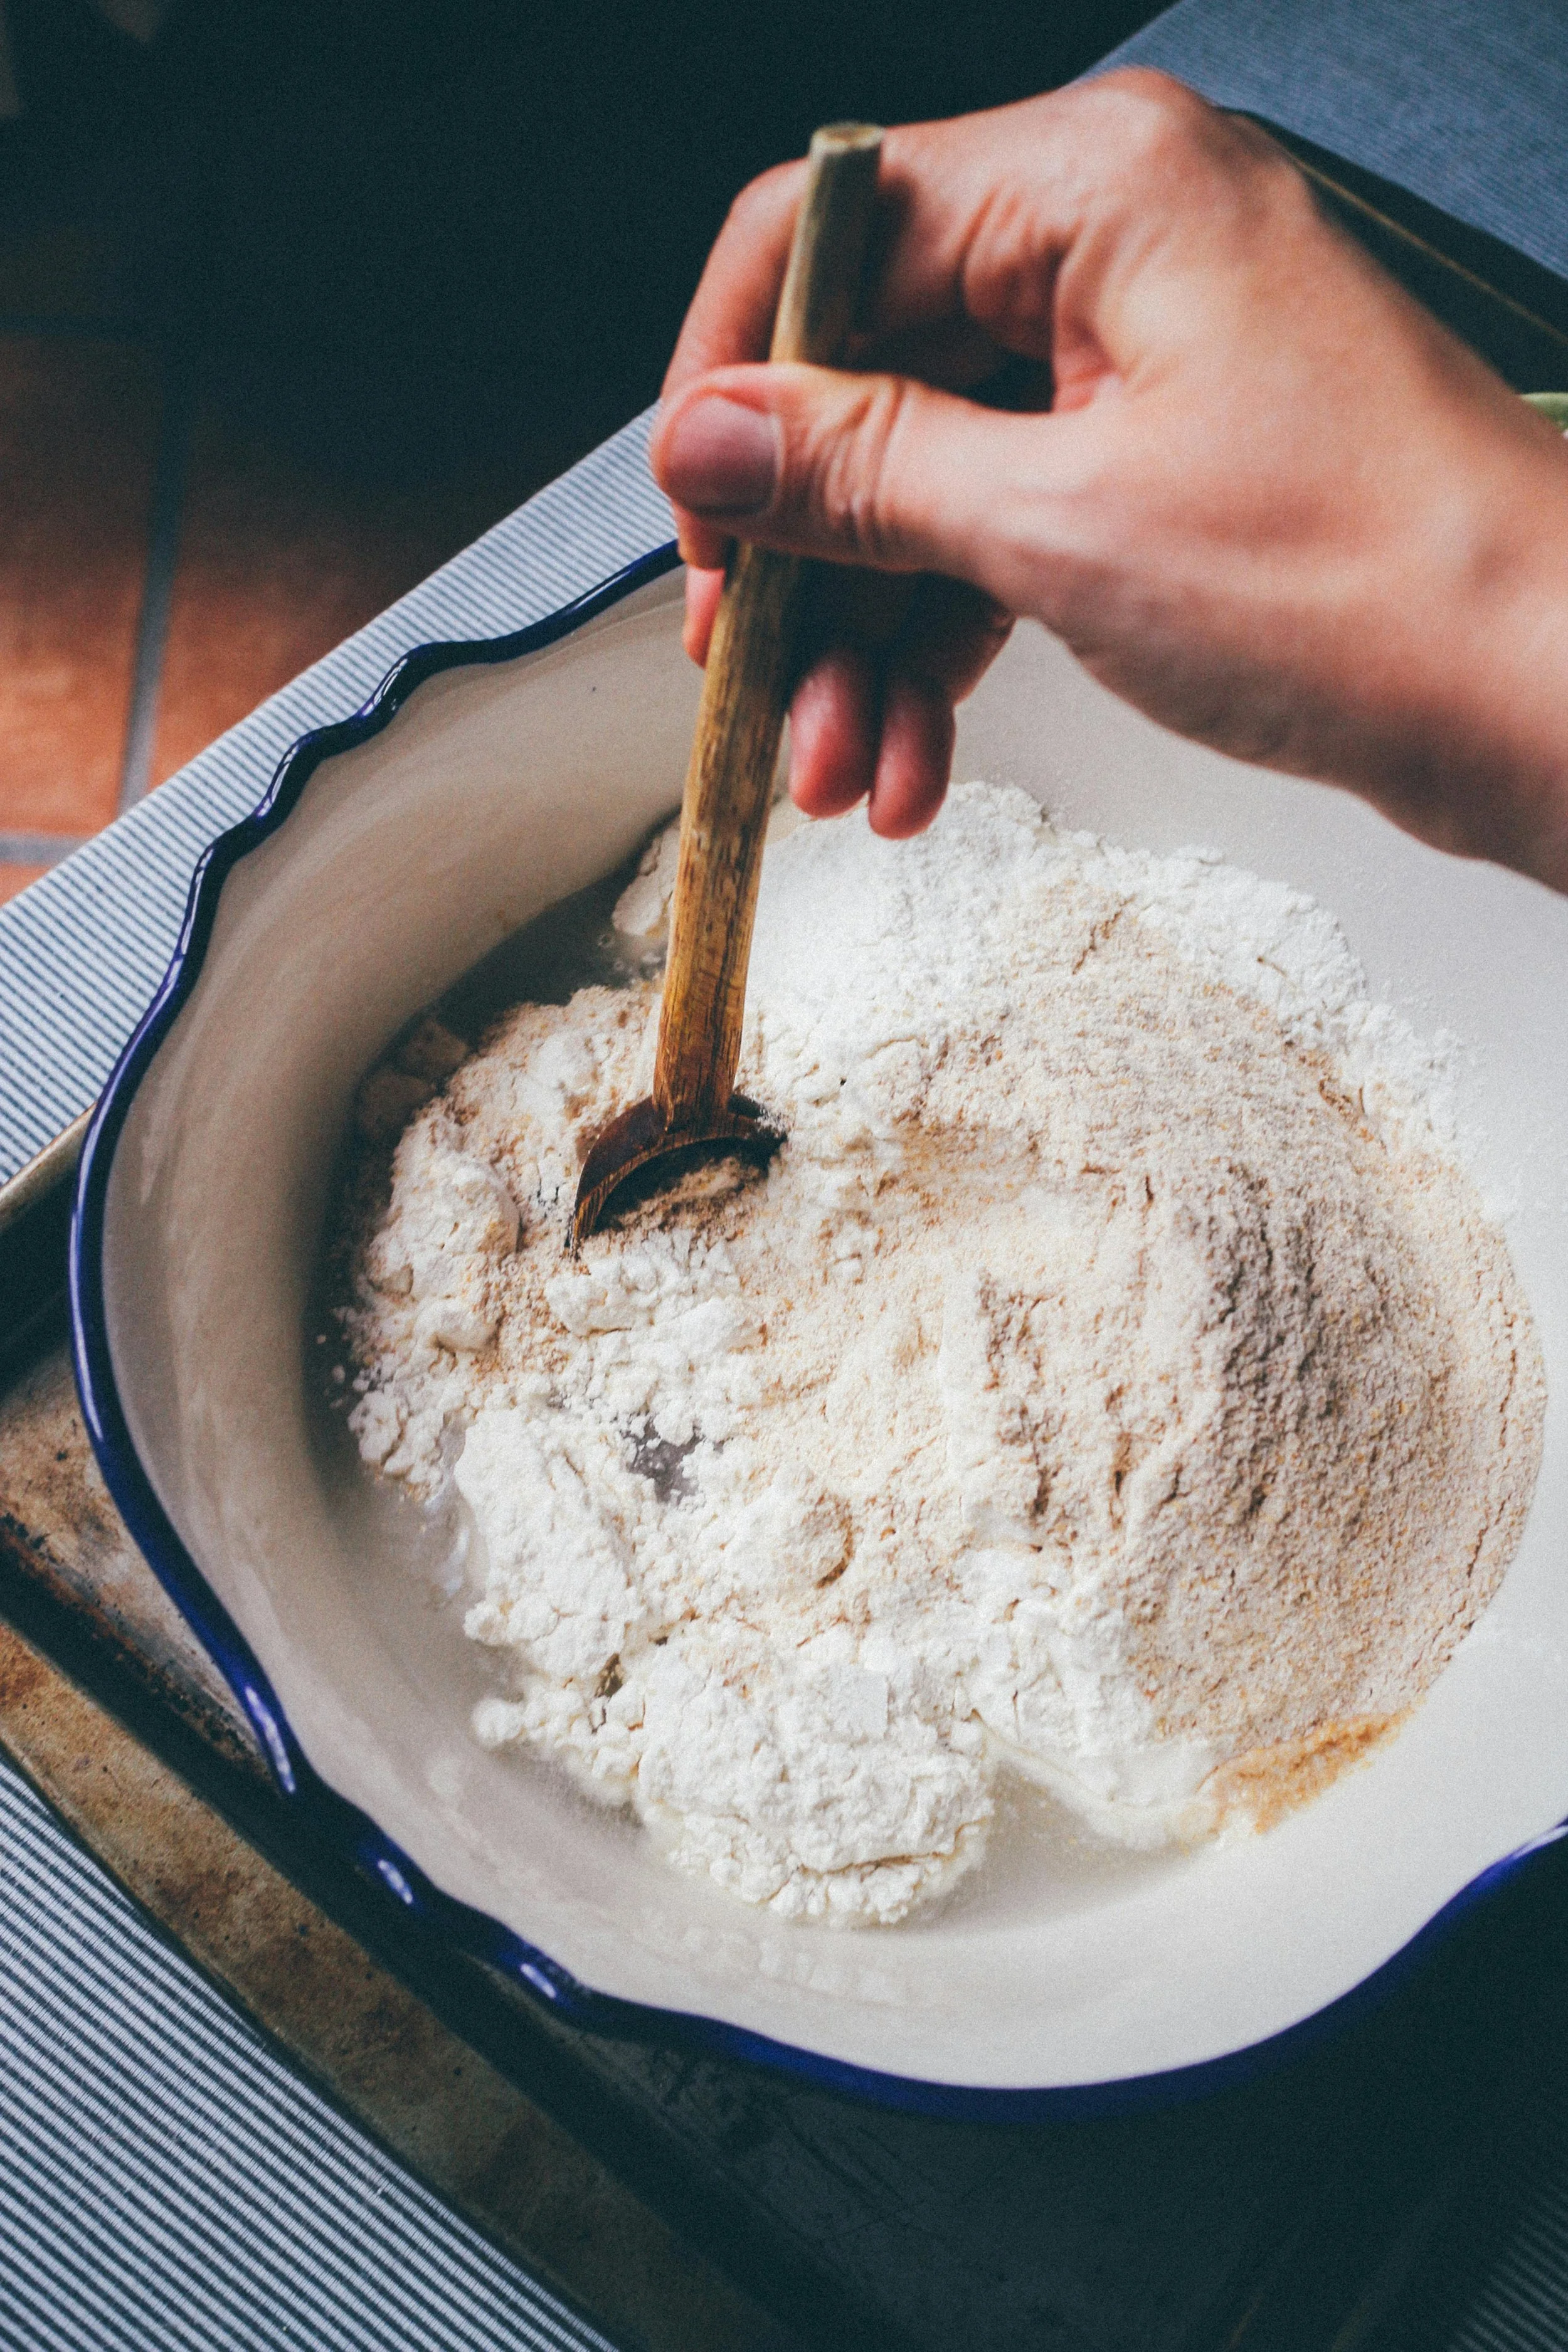
Once the yeast mixture is foamy, whisk in your room temperature sourdough discard and olive oil. The discard adds flavor and color, while the oil softens the dough and gives a tender crumb.
Add 4 cups (480g) of bread flour and salt, then mix with a wooden spoon or Danish dough whisk until a shaggy dough forms. It will look messy — that’s exactly what you want. If your discard is thicker, you may need a splash more water; if it’s runny, hold back a bit of flour.
You’re looking for dough that’s soft and tacky but not sticky enough to coat your fingers completely. A bench scraper helps clean the sides of the bowl and keep everything tidy.
3. Knead the dough
Lightly flour your work surface and turn out the dough. Use the heel of your hand to push the dough away, then fold it back over itself, rotating a quarter turn with each motion. Repeat for 8–10 minutes until smooth and elastic.
If using a stand mixer, let it knead with a dough hook on medium speed for 6–8 minutes. The dough should start to pull cleanly from the sides of the bowl and form a soft ball around the hook.
You’ll know it’s ready when the dough passes the windowpane test: pinch off a small piece and stretch it thin between your fingers. If you can stretch it enough to see light through it without tearing, your gluten is well-developed.
If it tears easily, let it rest for 5 minutes (a mini dough rest) and knead again for a couple of minutes. This helps relax the gluten and makes the dough easier to work with.
💡 Troubleshooting tip: If your dough feels too sticky, dust your hands lightly with flour or use a wet hand technique — damp hands keep the dough from sticking without adding too much extra flour.
4. First rise
Transfer your smooth dough ball into a lightly oiled large bowl, turning it once so the top of the dough is coated. This prevents it from drying out during the rise.
Cover tightly with plastic wrap or drape a tea towel over the top. Place in a warm spot — ideally around 75–78°F — and let it rise until doubled in size. Depending on the temperature of your kitchen, this can take 60–90 minutes.
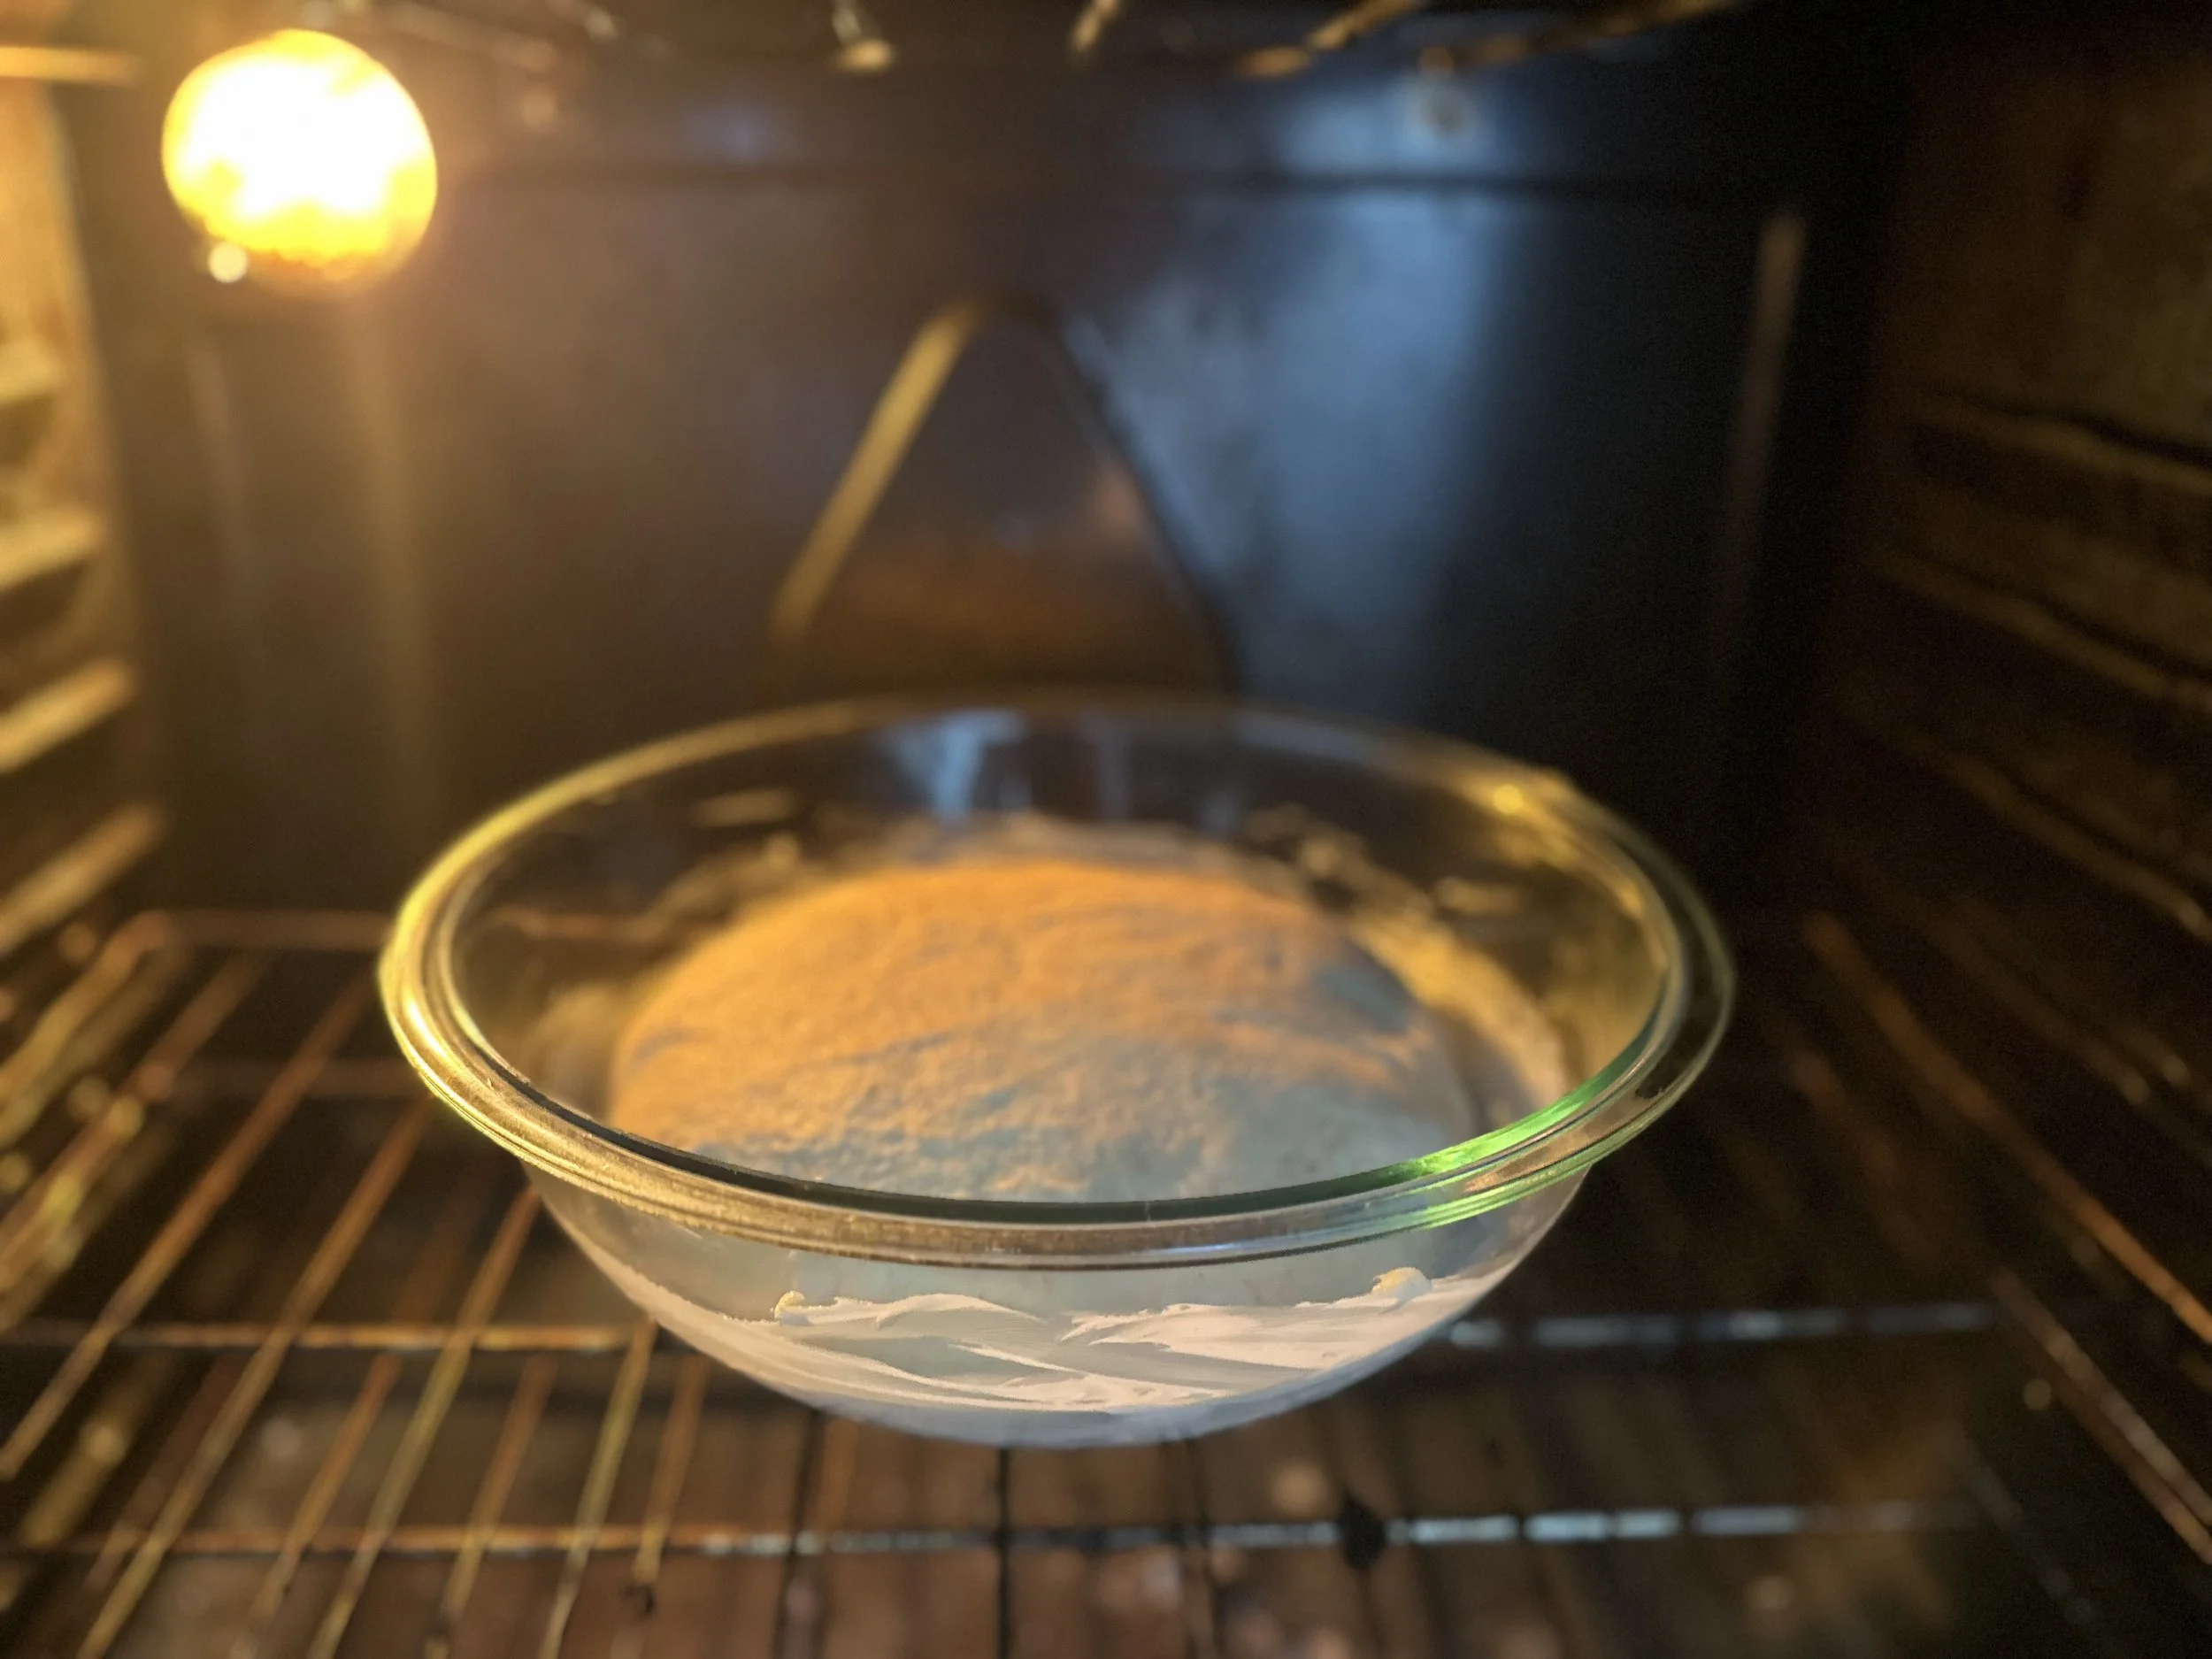
If your kitchen runs cold, place the bowl in your oven (turned off) with the light on, or next to a sunny window. In warmer months, your counter should do just fine.
You’ll know it’s ready when you press the side of the dough gently with a fingertip — if it leaves a slight dent that slowly springs back, you’re good to go.
5. Shape the bread bowls
Lightly flour your work surface again and turn the dough out gently, being careful not to punch out all the air bubbles. Divide the dough into 4–6 equal portions using a bench scraper or dough scraper.
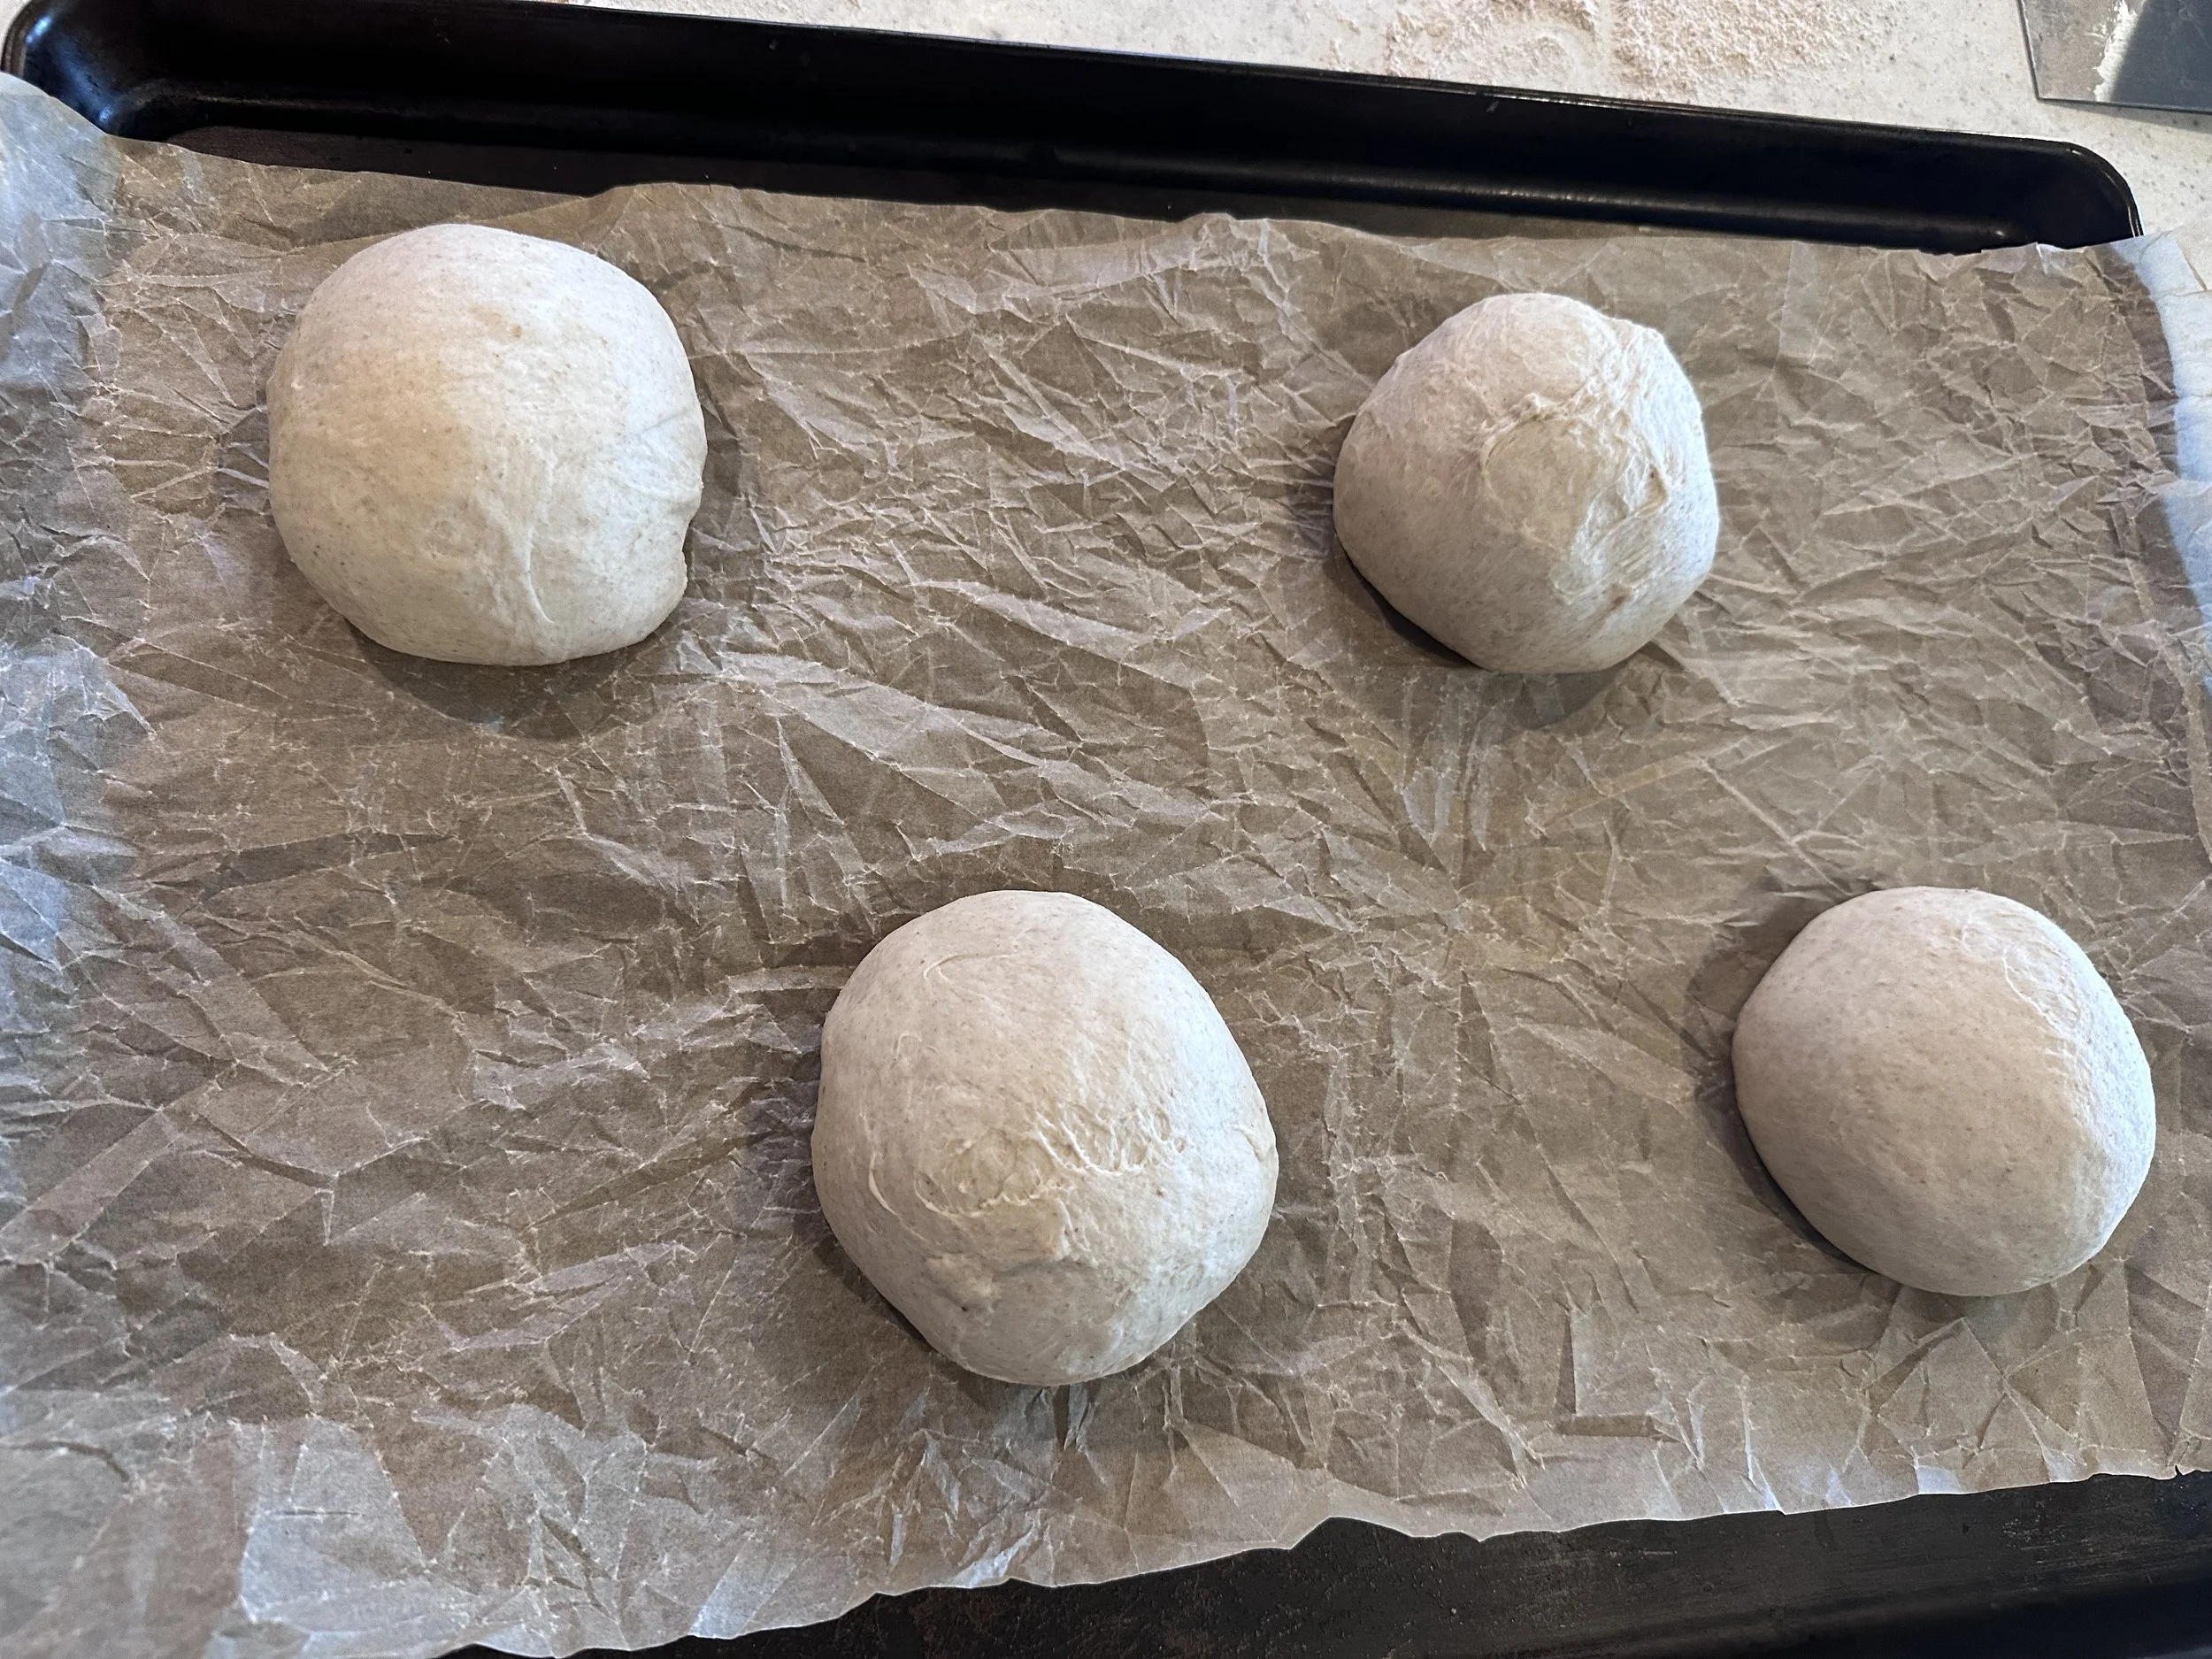
To shape each piece of dough into a round, cup your hands around it and pull the dough toward you, tucking the edges underneath to create surface tension on top. This tension helps the dough hold its shape while it bakes, giving you those perfectly round, sturdy bowls.
Place each dough ball on a parchment paper-lined baking sheet (or a baking stone if you’re going for an extra crisp bottom crust). Space them a few inches apart to allow for expansion during the final rise.
💡 Shaping tip: Don’t worry if your dough feels slightly soft — the second rise will help it puff up beautifully.
6. Second rise
Cover the shaped dough loosely with plastic wrap or a tea towel and let them rest for 30–45 minutes. This short final rise allows the gluten to relax and the dough to slightly expand again.
During this time, preheat your hot oven to 400°F (204°C). If you’re using a baking steel, pizza stone, or cast iron skillet, place it in the oven now so it preheats thoroughly. A hot surface is the key to great oven spring.
When the dough looks slightly puffy and you press the edge of the dough lightly without it springing back too fast, it’s ready to bake.
7. Bake
Before baking, use a sharp knife or lame to score the top of the dough — just one small slash or cross about ¼ inch deep. This helps control the expansion and prevents random cracks.
Transfer the parchment paper with the dough directly onto your baking steel, pizza stone, or cookie sheet. For best results, spritz the inside of your oven with a little water, or place a cup of water in a small oven-safe pan on the bottom rack to create steam.
Bake for 25–30 minutes, until each bread bowl is golden brown with a crisp crust. If baking on a dark cookie sheet, start checking at 22 minutes since they brown faster.
You’ll know they’re done when they sound hollow if you tap the bottom.
💡 Extra flavor tip: For an artisan-style crust, brush the tops lightly with olive oil or butter during the last 5 minutes of baking.
8. Cool and Hollow
Transfer your baked bread bowls to a wire rack to cool. Cooling is crucial — cutting into them while hot can make the inside gummy. After 15–20 minutes, slice off the tops with a sharp knife and gently scoop out the soft centers.
You can use the removed bread to make buttery croutons or even freeze it for stuffing later.
If you plan to fill the bowls with soup right away, pop the hollowed bowls back into the oven for 5 minutes to toast the interior. This extra step helps them hold up perfectly against even the creamiest chowders.
Serving & Storing
These bowls are sturdy enough for any creamy soup, clam chowder, or hearty chili — the perfect start to soup season.
Store leftovers in a plastic bag or wrap in plastic wrap for up to 2 days. To refresh, reheat in a hot oven for 5 minutes to bring back that crisp crust.
💡 Best way to serve: Toast lightly before filling — it keeps the soup from soaking through.
Variations & Helpful Tips
Flour Options: You can replace up to 1 cup of bread flour with all-purpose flour if needed.
Loaf Pan Alternative: Shape into a round loaf of bread for slicing instead of bowls.
Next Day Idea: Use leftover dough to make mini rolls or sourdough discard sandwich bread.
Equipment Swap: Don’t have a pizza stone? A cookie sheet or cast iron skillet works too!
This recipe is also a great addition to your sourdough discard recipes collection — it’s proof that you can still bake something special without a full bulk fermentation or waiting until the next day.
Printable Recipe Card
Easy Sourdough Discard Bread Bowls (Same-Day)
(Makes 4–6 bowls | Prep: 20 mins | Total: ~3 hrs)
Ingredients:
1 cup (240g) sourdough discard, room temperature
1½ cups (360g) warm water
2¼ tsp instant yeast
1 tbsp sugar or honey
1 tbsp olive oil
4–5 cups (480–600g) bread flour
1½ tsp salt
Instructions:
Mix warm water, sugar, and yeast; rest 5 mins until foamy.
Stir in discard and olive oil. Add flour and salt; mix until shaggy dough forms.
Knead 8–10 mins until smooth and elastic.
Let rise in oiled bowl, covered, 1–1½ hrs or until doubled.
Divide into 4–6 balls, shape tight rounds, cover, and rise 30–45 mins.
Bake at 400°F (204°C) for 25–30 mins until golden brown.
Cool, hollow out, and fill with soup.
Final Thoughts
If you’ve ever found yourself saying, “I want sourdough bread bowls tonight,” this recipe is your answer. It’s a great idea turned real — using a bit of sourdough discard and some simple ingredients you already have.
Serve them with your favorite soup recipe (like my homemade broth or fall soup guide), and you’ll wonder why you ever waited overnight for sourdough again.
Check These Blog Posts Out Next
If you loved making these same-day sourdough bread bowls, here are a few more cozy, homemade favorites you’ll love next:
Easy Homemade Butter Recipe Made in Minutes
Want to make your bread bowls even better? This quick homemade butter recipe is simple, creamy, and perfect for brushing on top while they’re still warm.
What to Do with Sourdough Discard – 11 Easy Recipes
If you’re building up discard fast, this post is packed with easy, beginner-friendly ways to use it up without wasting a thing.
Sourdough Starter for Beginners – No Scale Needed
New to sourdough or wanting a simpler method? This beginner guide walks you through starting your own sourdough starter with no fancy tools required.
How to Make Cozy Fall Broth & Soup – 3 Easy Recipes
Bread bowls + soup season = the best combo. These cozy broth and soup recipes are perfect for filling your homemade bowls with something warm and comforting.