Easy Homemade Butter Recipe Made in Minutes
Making homemade butter is one of the most satisfying kitchen skills you’ll ever learn. If this is your first time trying it, don’t worry — the whole process is shockingly simple. All you need is a jar of cream, a mason jar, a hand mixer, or even the whisk attachment on your KitchenAid mixer. With one cup of heavy cream or a full quart of cream, you can quickly turn everyday ingredients into fresh butter that tastes richer and cleaner than any store-bought stuff.
If you're used to grabbing butter at the grocery store, get ready — once you learn how to make your own, you’ll start finding reasons to make a batch of homemade butter every week. It spreads better, melts beautifully, and pairs perfectly with homemade bread or warm sourdough rolls.
Why Make Butter at Home?
There are so many reasons people fall in love with homemade butter:
You control the amount of salt
It’s customizable with fresh herbs, maple syrup, garlic, or Parmesan cheese
You can make smaller amounts or large batches
It's free of additives found in some commercial brands
It gives you leftover buttermilk for baking biscuits, pancakes, or a flaky pie crust
And perhaps the best benefit: you truly taste the difference. Some say it’s the most delicious butter they’ve ever eaten.
Ingredients Needed
You only need one ingredient:
Heavy whipping cream
But to create different types of butter, you can add:
Sea salt or table salt
Fresh herbs (rosemary, thyme, parsley)
Garlic
Honey
Maple syrup
Parmesan cheese
Black pepper
Smoked paprika
Whether you want unsalted butter, salted butter, or compound butter, this method works for all of them.
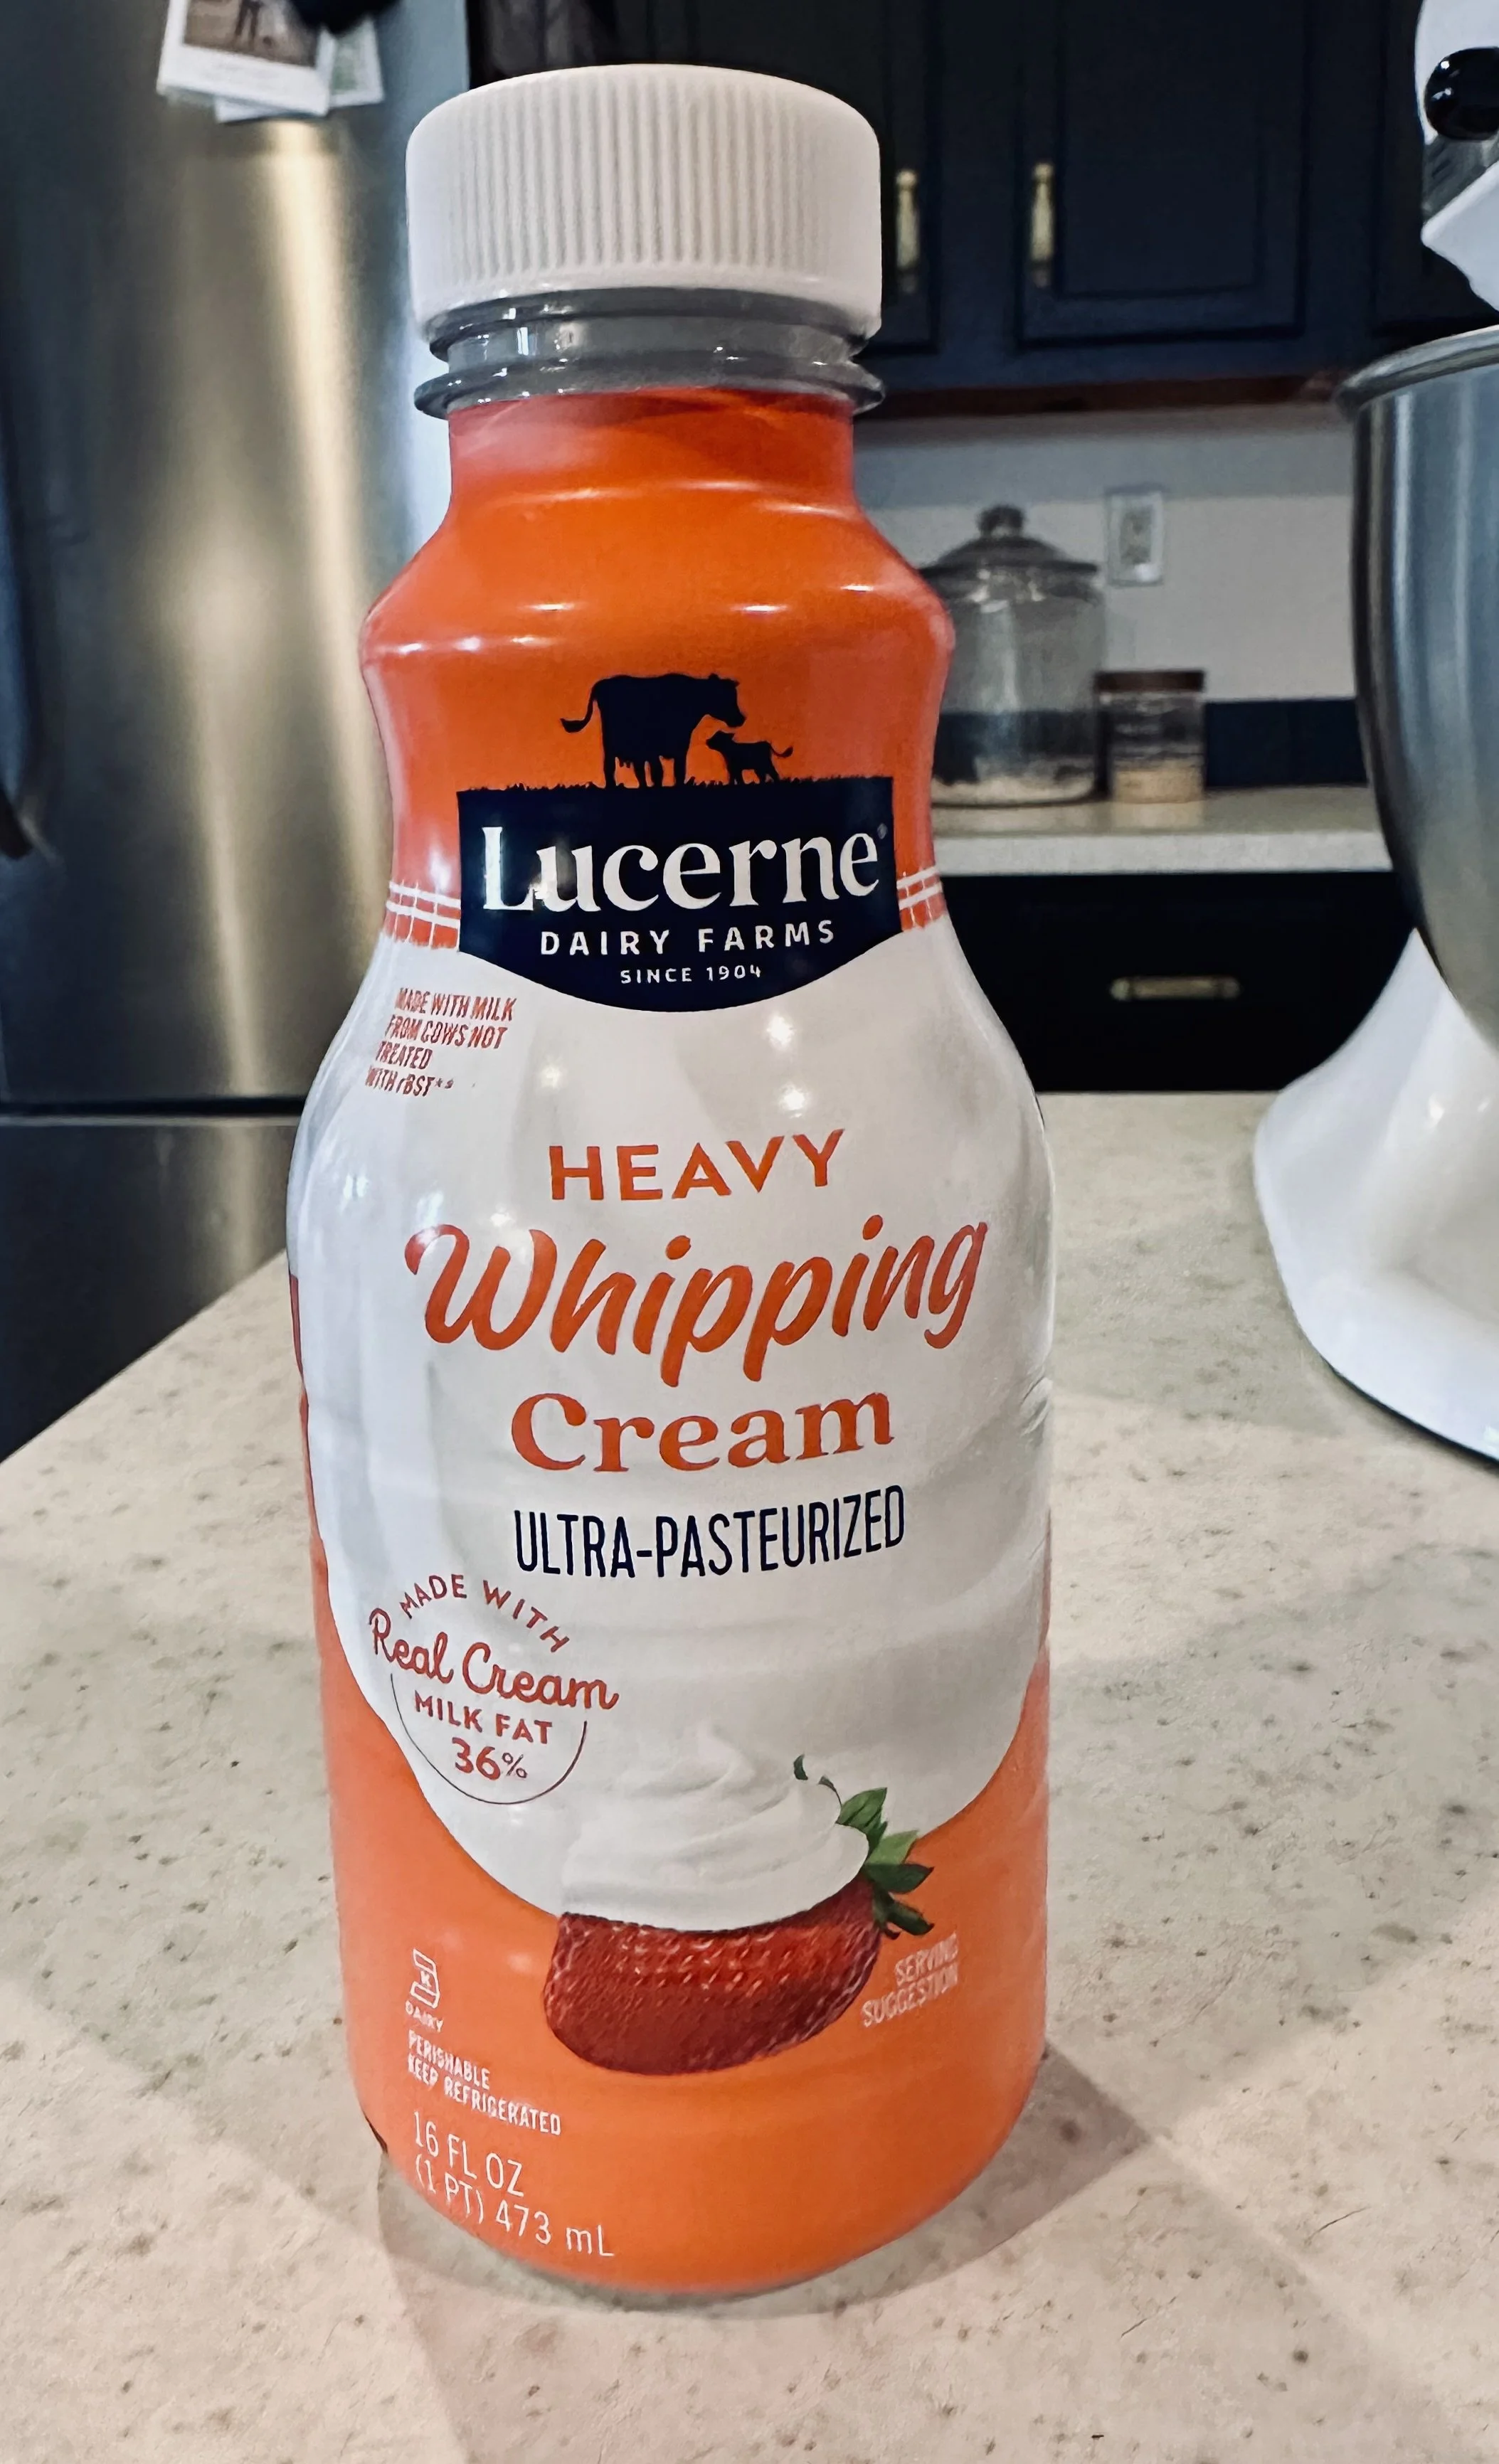
Choosing the Right Type of Cream
The type of cream you use matters more than you think.
Here are great options:
Quart of heavy cream
Heavy whipping cream
Local cream from a farm
Whole milk isn’t ideal on its own — too low in fat
A quart of cream yields almost a pound of butter
Higher-fat cream produces richer butter solids and more solid butter.
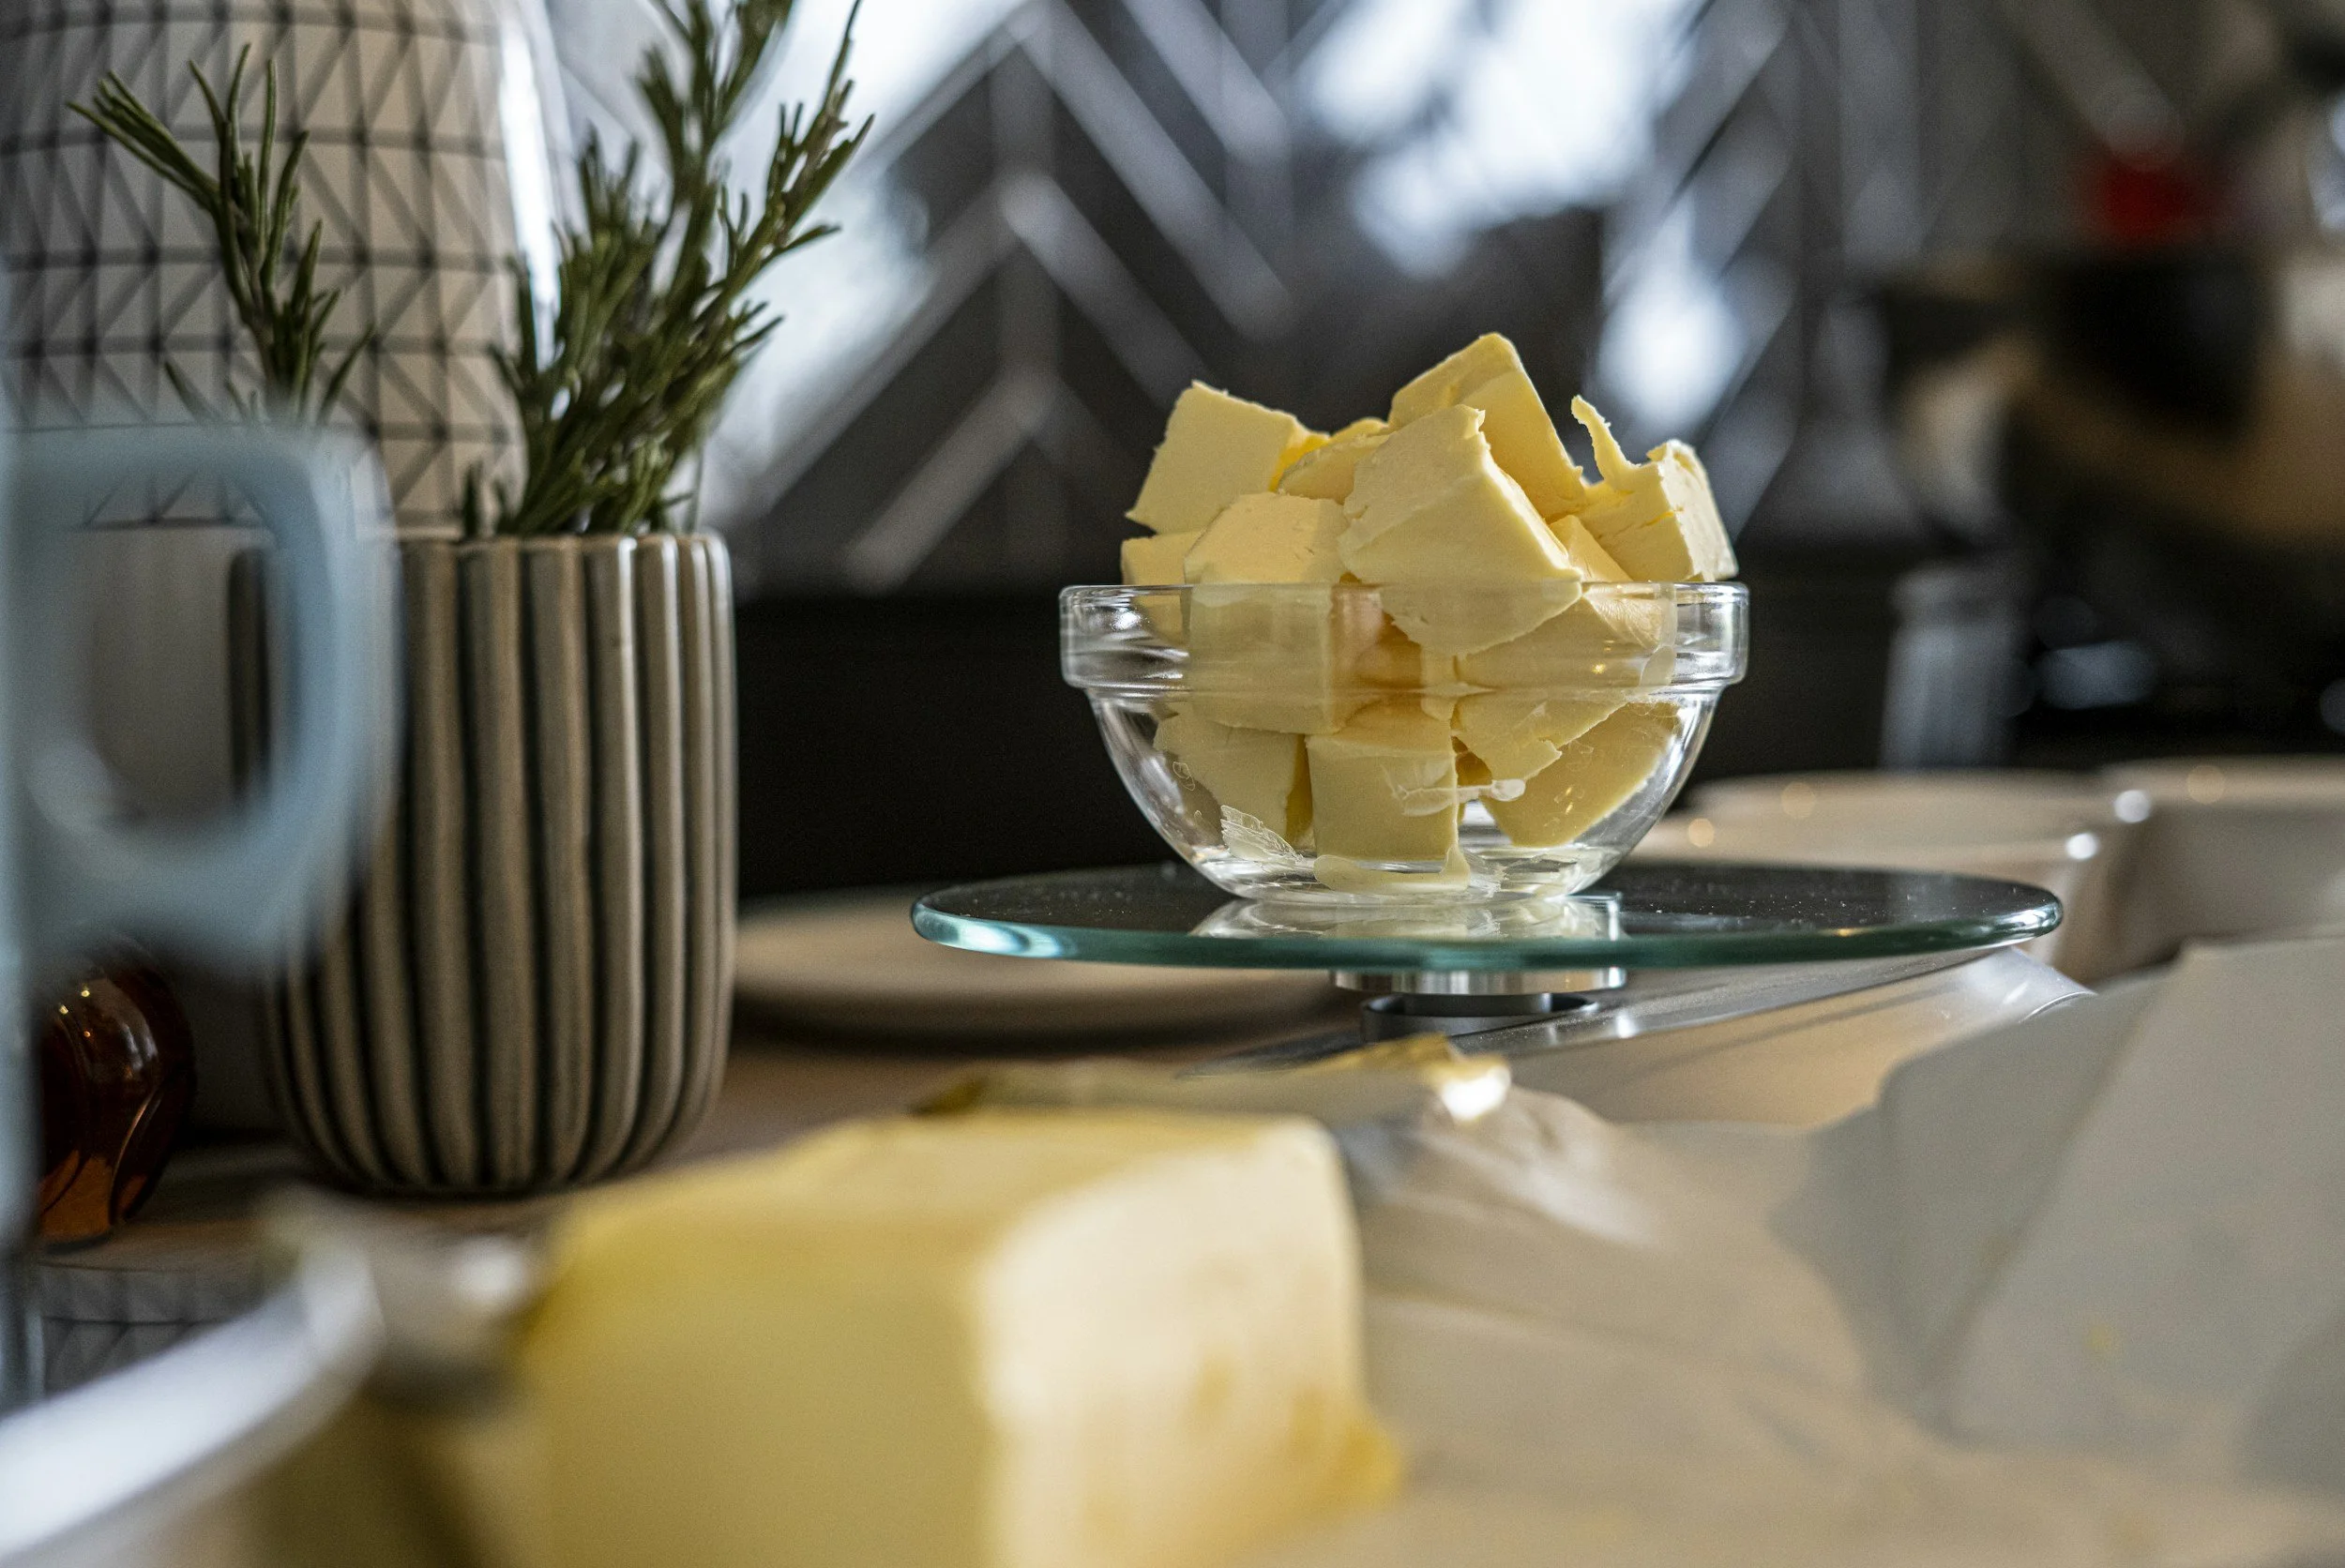
How the Cream Turns Into Butter
When the cream breaks, the fat separates from the liquid. The fat becomes solid butter, while the liquid becomes liquid buttermilk, also known as resulting buttermilk or remaining buttermilk.
You’ll notice the moment it happens — the texture shifts dramatically, and the cream starts slapping the sides of the bowl or settling into the bottom of the bowl. That’s when you know you’re close.
How to Make Homemade Butter Three Different Ways
Below are three methods you can use depending on your kitchen tools.
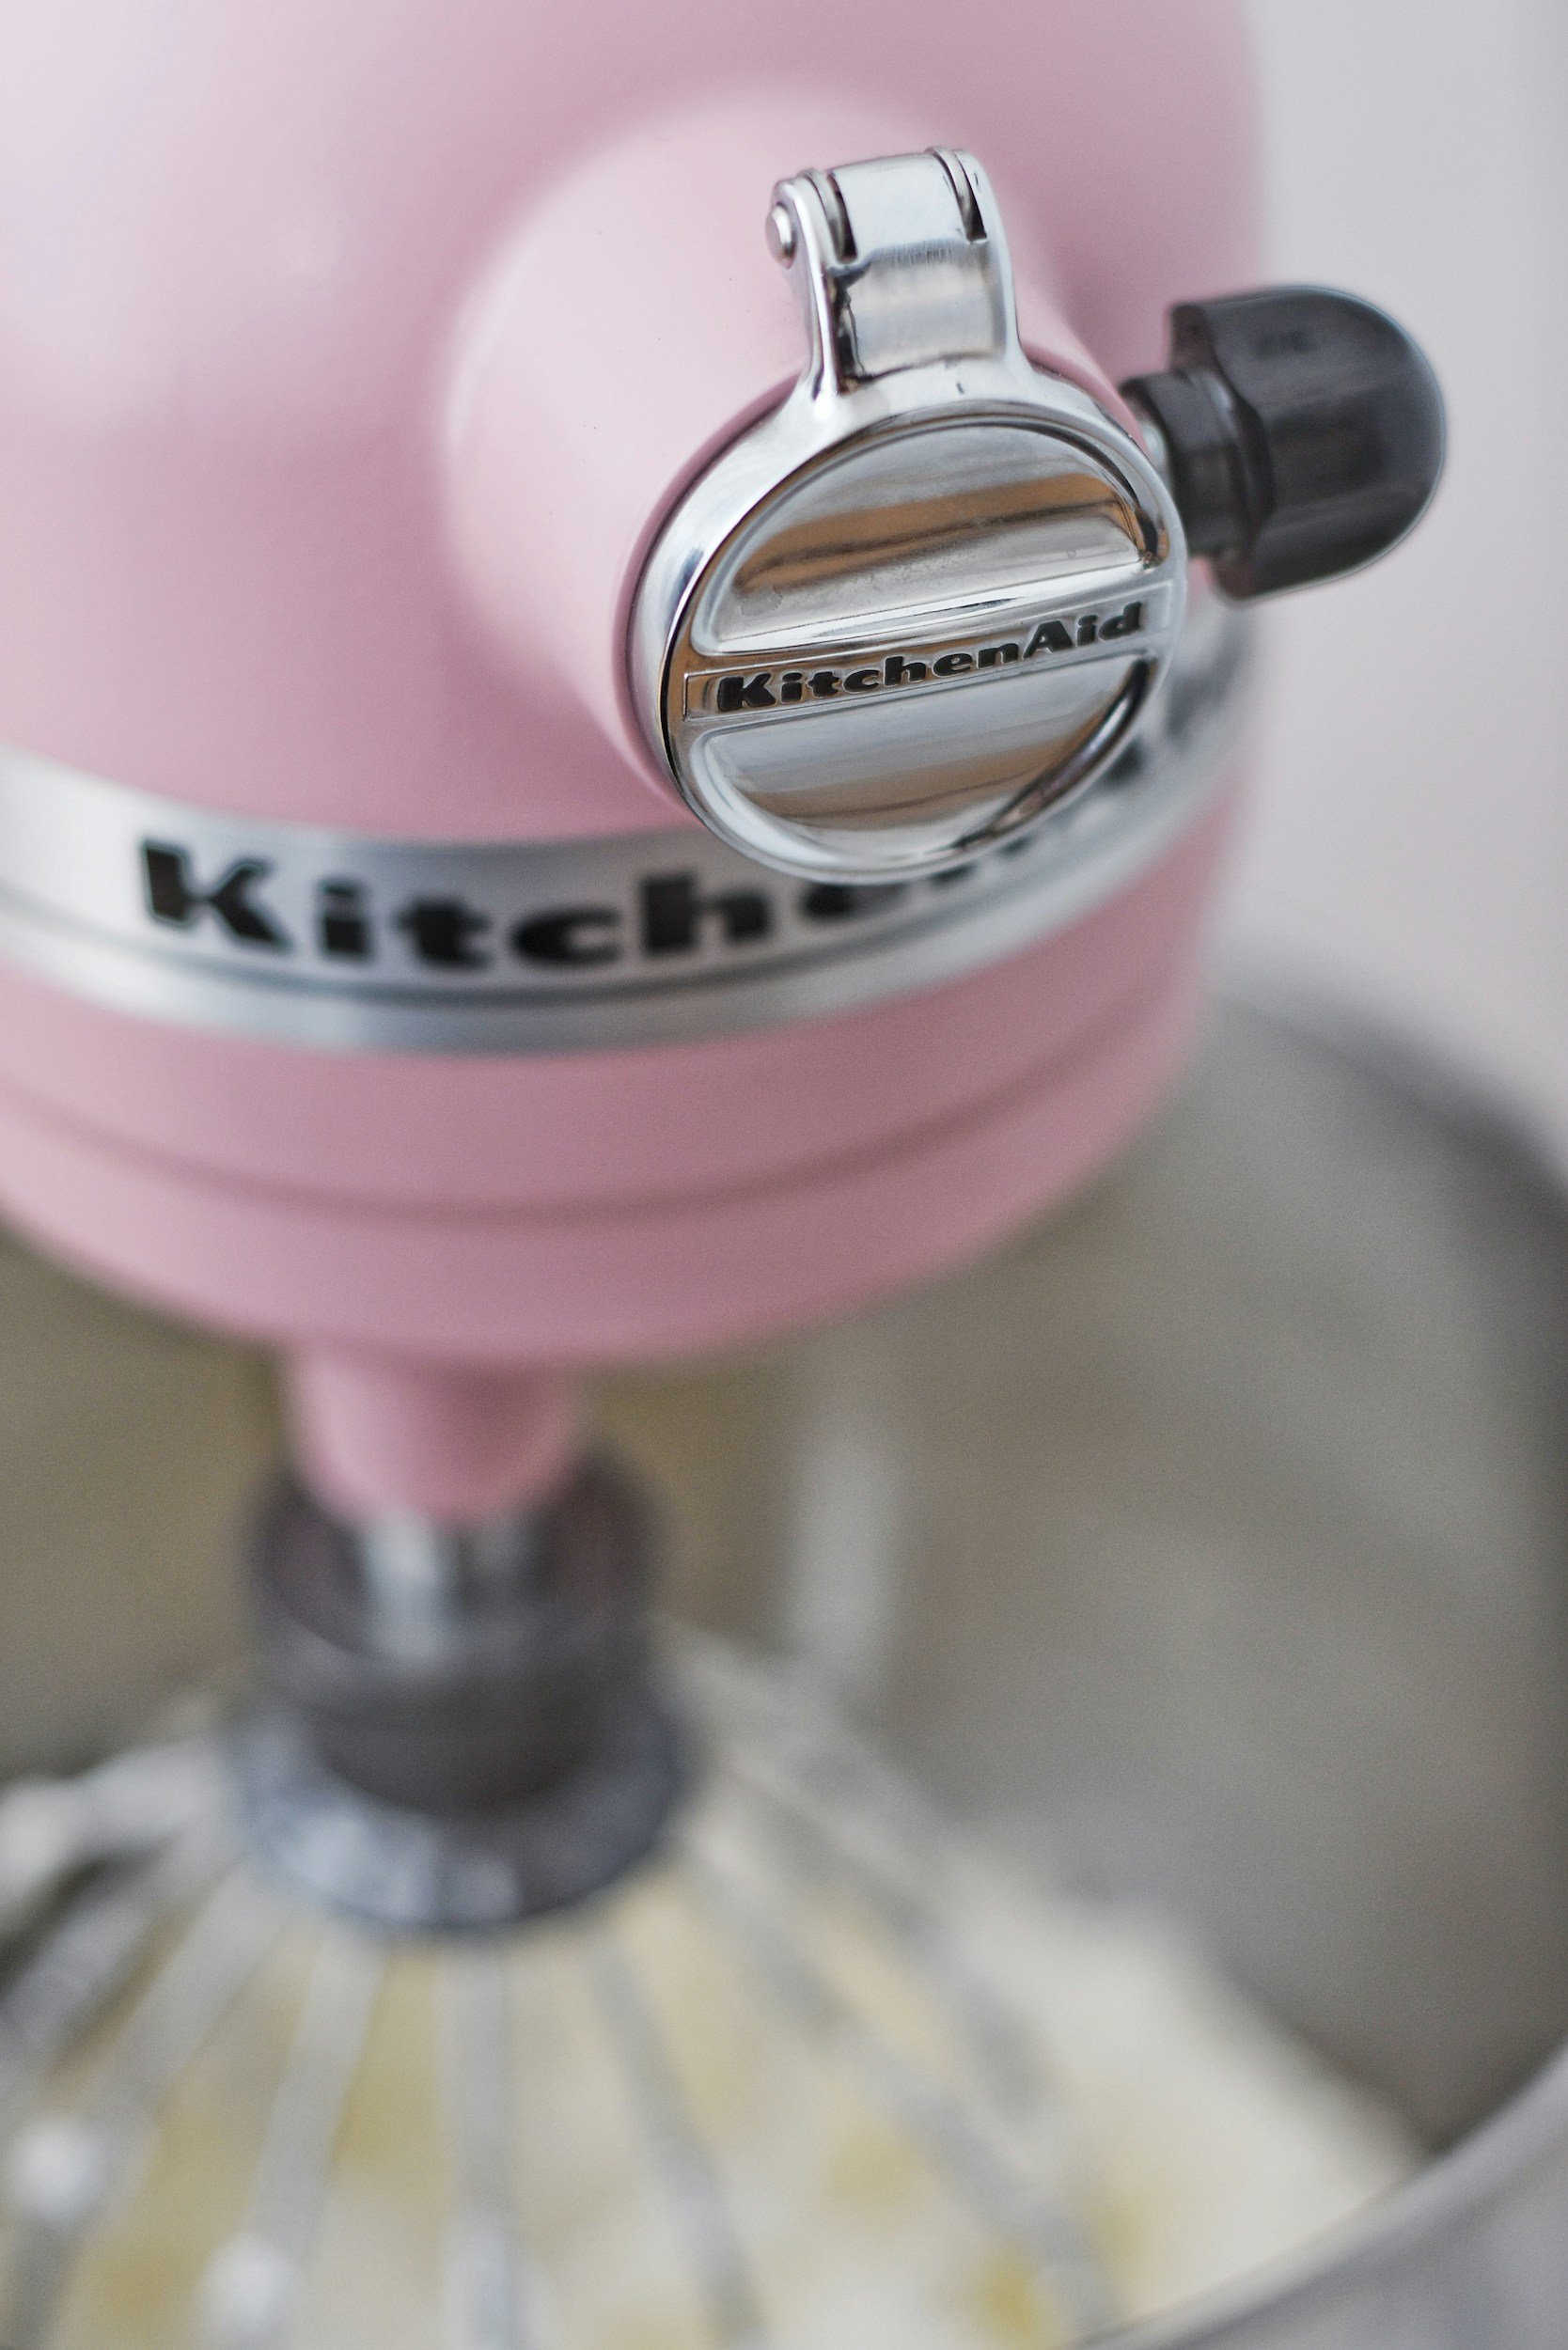
Method 1: Stand Mixer (Fastest & Easiest)
If you want speed and convenience, the bowl of your stand mixer with the whisk attachment is the first thing you should reach for.
Steps
Add a quart of heavy cream or a cup of heavy cream to the mixer.
Leave enough room for the cream to expand.
Turn the mixer to medium-high and let it whip.
First it turns into whipped cream. Keep going.
Suddenly the cream breaks apart into butter solids and excess liquid (buttermilk).
Pour off the butter milk and save it — it’s incredible for baking.
Move the butter to a large mixing bowl and rinse with cold running water or cold water.
Use clean hands to squeeze out the extra buttermilk.
Rinsing keeps your butter fresh longer and removes any leftover milk solids.
Why this method works well:
The mixer’s metal blades agitate the cream evenly.
Great for large batches (up to a pound of butter).
Hands-off and fast.
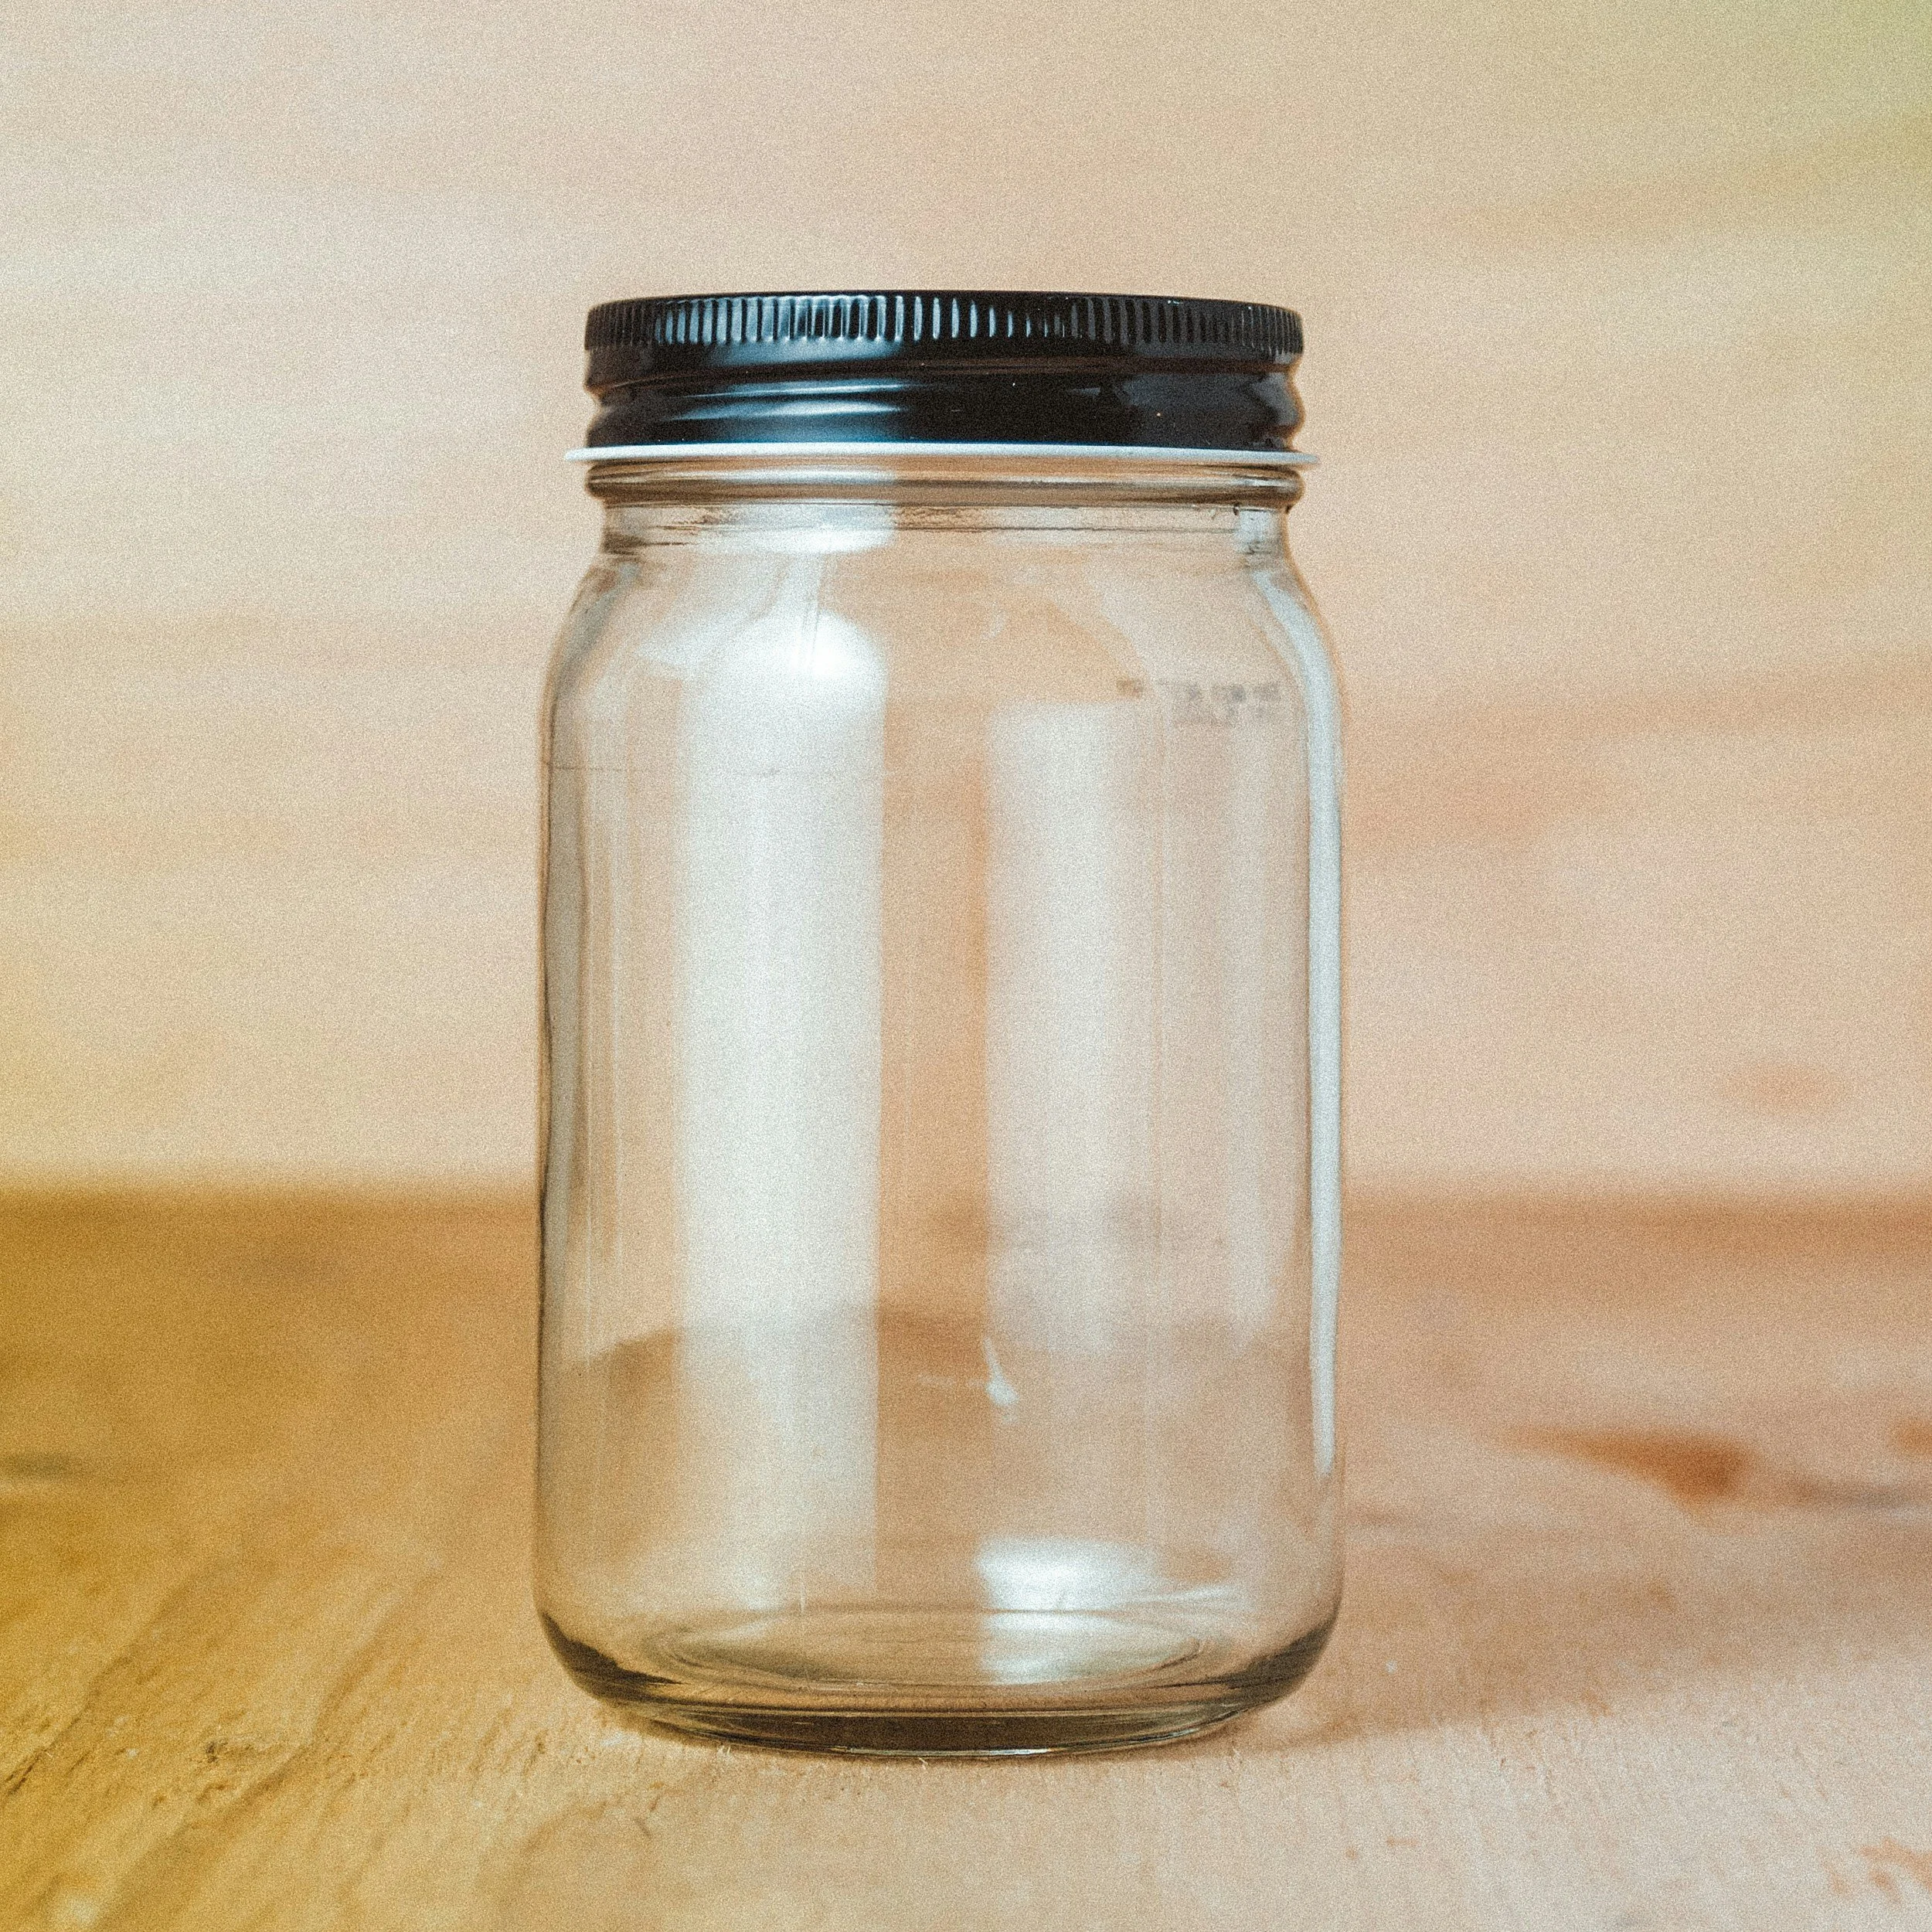
Method 2: Mason Jar (The Classic, No-Gadget Method)
This method is perfect if you want to show kids (even in 2nd grade) how butter was made “in the old days.”
Steps
Fill a mason jar halfway with cream.
Tighten the lid securely.
Shake for 5–10 minutes.
First, you’ll feel it turn into whipped cream.
Keep shaking — you’ll suddenly hear a thumping sound as the cream fully separates.
Pour off the liquid buttermilk, then rinse under cold water.
Knead with your hands until the butter stops releasing liquid.
This method takes longer but feels amazingly rewarding.
Method 3: Hand Mixer or Food Processor
A handheld mixer or hand mixer produces great butter without needing a large appliance.
You can also use the bowl of a food processor for a hands-free experience.
Steps
Pour cream into the bowl.
Mix on high until the cream breaks.
Once you see solid butter forming, drain the buttermilk.
Rinse with cold water and squeeze.
This method is fantastic for smaller amounts when you don’t need a full pound of butter.
How to Flavor Your Fresh Butter (Compound Butter Ideas)
Savory Dishes
Garlic + sea salt + parsley
Fresh herbs like rosemary & thyme
Parmesan cheese + cracked pepper
Smoked paprika
Chive + onion
Sweet Options
Maple syrup + cinnamon
Honey vanilla
Strawberry
Perfect for spreading on homemade bread, topping steaks, mixing into pasta, or melting over roasted veggies.
Storing Your Homemade Butter
To store your butter properly, place it in an airtight container.
Shelf life:
1–2 weeks in the fridge
Up to 6 months in the freezer
You can shape it into a stick of butter by wrapping it tightly in parchment.
✔ Troubleshooting Tips
If butter seems too soft: rinse longer with cold water.
If it won’t separate: your cream may be too warm — chill it first.
If it tastes bland: add a teaspoon salt or adjust to taste.
If you see cloudy liquid: that’s normal remaining buttermilk leaving the butter.
For best results, keep everything cold — cold bowls, cold cream, and cold running water.
What to Do with the Leftover Buttermilk
Use your leftover buttermilk to make:
Biscuits
Pancakes
Waffles
Fried chicken marinade
Buttermilk pie
Tender, flaky pie crust
Once you make butter at home, you’ll find you never want to waste the remaining buttermilk again.
Final Thoughts: Butter Making Is a Skill Every Home Cook Should Try
Making butter from scratch is one of the simplest kitchen projects you can do, and the payoff is huge. Whether you use a mason jar, a Kitchen Aid mixer, a hand mixer, or a food processor, you’ll end up with delicious butter that tastes nothing like the store-bought stuff.
You can experiment with sweet or savory butter recipes, adjust the amount of salt, and even explore different types of butter. Once you’ve made your first batch of homemade butter, you might never go back.
Recipe Card
Ingredients:
Heavy Whipping Cream
Instructions:
Pour cream into your mixing bowl, food processor bowl, or a jar.
(Stand mixer: use the bowl of your stand mixer + whisk attachment. Mason jar: fill jar halfway so there’s enough room to shake.)Mix or shake until the cream breaks.
(Stand mixer: mix on medium-high 3–8 minutes, scraping the sides of the bowl if needed. Hand mixer: beat in a large mixing bowl 5–10 minutes. Food processor: process in the bowl of a food processor 2–5 minutes. Mason jar: shake 5–12 minutes until butter solids form.)Continue until you see solid butter separate from liquid buttermilk.
(You’ll notice a sudden change—clumps of butter form and excess liquid collects at the bottom of the bowl or jar.)Strain off the buttermilk into a container and save it if desired.
(This is leftover buttermilk and can be used for biscuits, pancakes, or pie crust.)Rinse the butter with cold water to remove remaining buttermilk.
(Use cold running water or a bowl of cold water. Press and fold the butter with clean hands until the water runs mostly clear and there’s no excess liquid.)Add salt (optional).
(Start with ½ teaspoon sea salt per 1 cup of cream, then adjust to taste. For unsalted butter, skip this step.)Shape and store.
(Shape into a stick of butter, or pack into an airtight container and refrigerate.)
Storage
Store homemade butter in an airtight container in the refrigerator for 7–14 days.
For longer storage, freeze butter for up to 6 months.
If your butter feels wet or spoils quickly, it may still contain extra buttermilk—rinse longer with cold water and press out any remaining liquid.
Flavor Variations
Mix these in after rinsing and draining well:
Savory Compound Butter
Herb Butter: fresh herbs + sea salt (parsley, thyme, rosemary)
Garlic Parmesan: minced garlic + parmesan cheese + pinch of salt
Steak Butter: black pepper + garlic + herbs
Sweet Butter
Maple Butter: 1–2 teaspoons maple syrup + pinch of salt
Honey Butter: 1 tablespoon honey + pinch of salt
Cinnamon Butter: cinnamon + a little honey or maple syrup